A rental can look tidy while still falling short of the standard a new tenant, letting agent or property manager expects. Grease behind the cooker, limescale around taps, dust on skirting boards and marks on carpets are the details that affect first impressions and deposit discussions. Knowing how to clean rental property properly means working methodically, allowing time for problem areas and checking the finish room by room.
For a routine refresh, a careful clean may be enough. Between tenancies, after building work or where a property has been heavily used, a deeper clean is usually the sensible choice. The aim is not simply to make the property look presentable. It is to leave a clean, hygienic and ready-to-let home that can be inspected with confidence.
Start with a clear property check
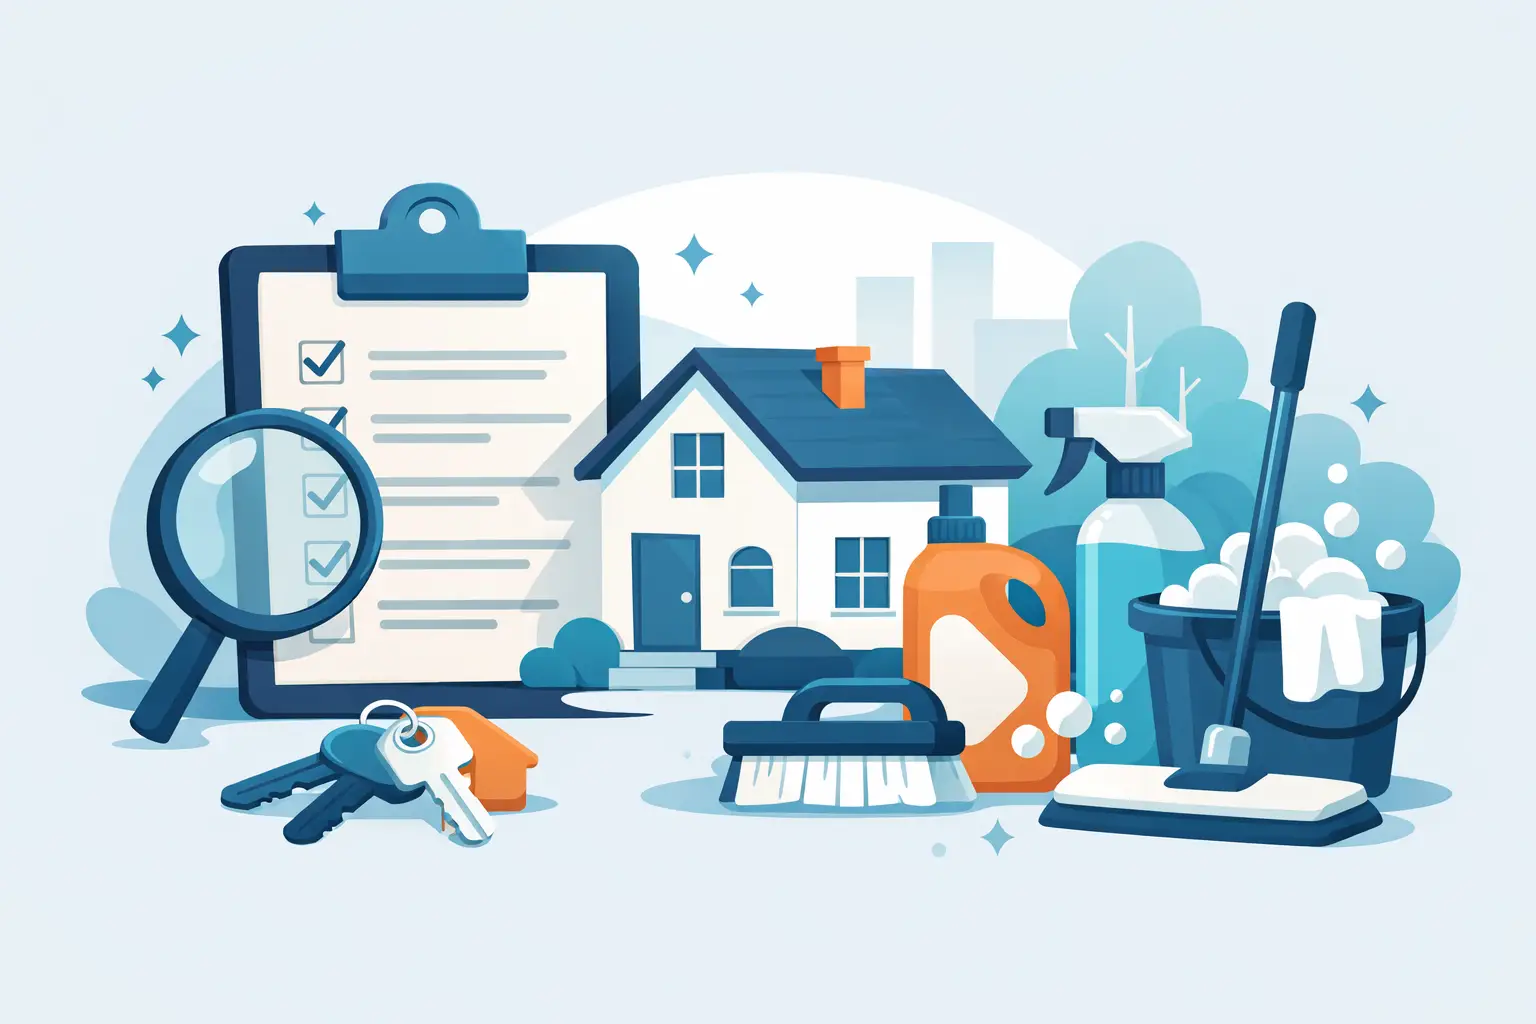
Before bringing in cleaning products, walk through every room with the inventory, check-in report or a simple written list. Take photographs of existing damage, missing items, stains and maintenance issues. Cleaning can reveal problems such as cracked sealant, mould around a window frame, a leaking trap or a damaged cupboard door, but it cannot fix them.
Remove any remaining belongings only where you have permission to do so. Check cupboards, drawers, loft hatches, sheds, bins and outdoor areas. A forgotten bag of rubbish or food left in a fridge can quickly create odours and pests, even after the main rooms have been cleaned.
It also helps to work from the cleanest and highest areas downwards. Dusting ceiling corners after washing the floor only creates extra work. Open windows where practical, ensure there is good lighting and wear suitable gloves, particularly when dealing with bathrooms, ovens or unknown spillages.
How to clean rental property room by room
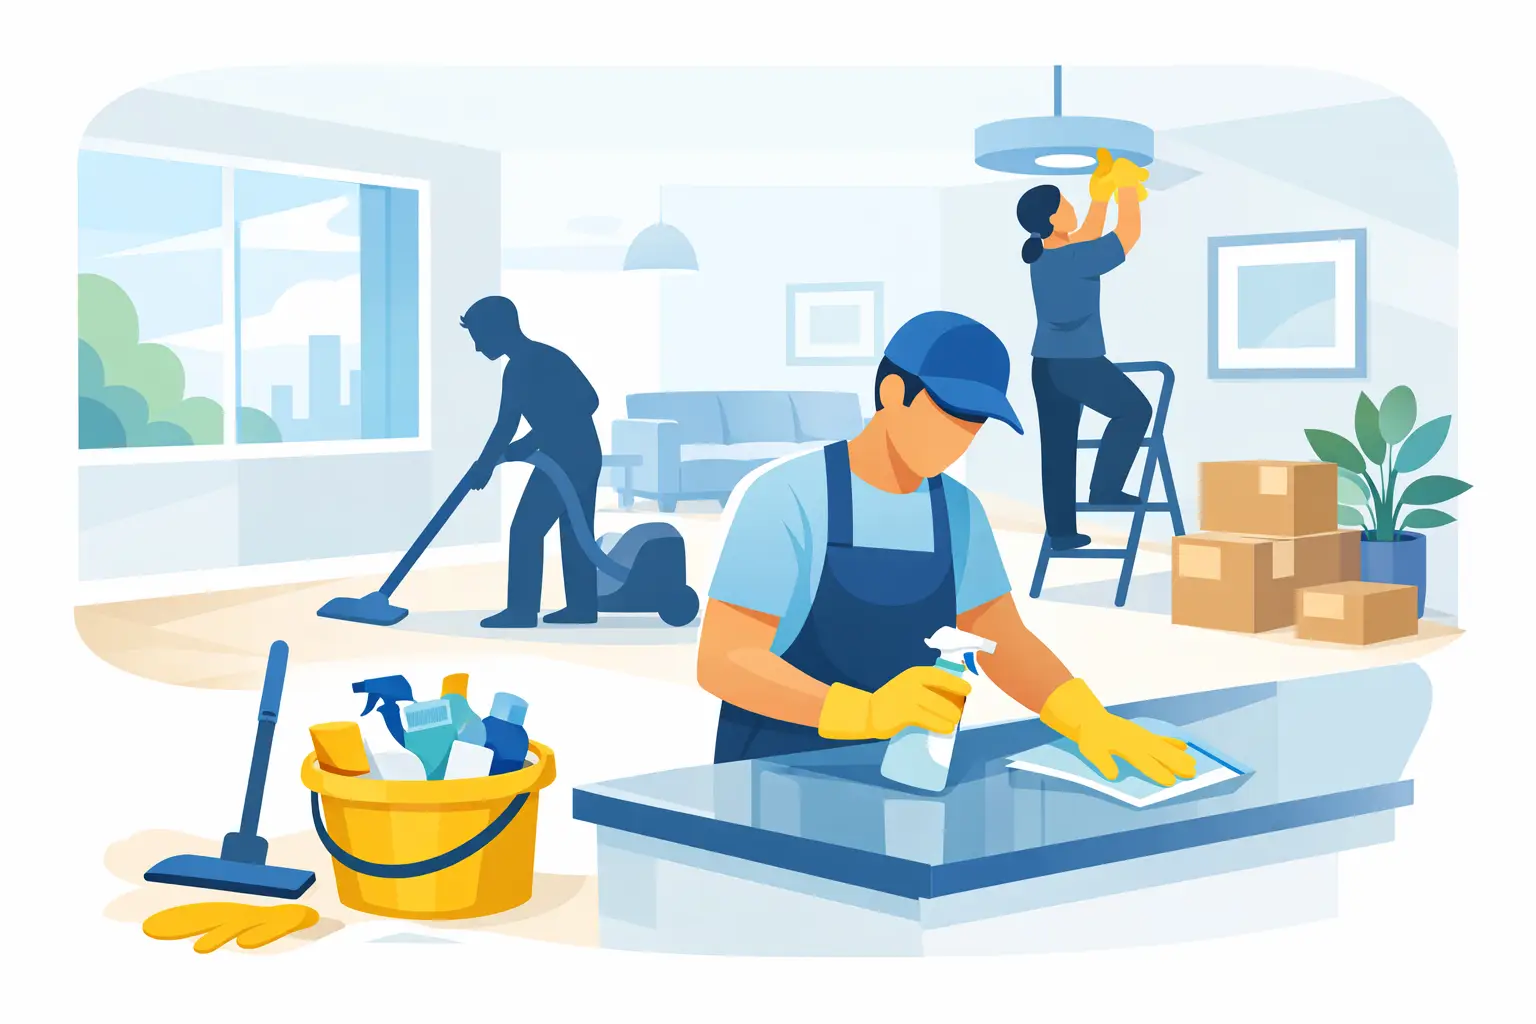
A consistent order makes a large clean more manageable. Complete one room at a time where possible, then carry out a final whole-property check. This avoids moving dirt, dust and cleaning equipment back into areas already finished.
Kitchen: focus on grease, food residue and appliances
The kitchen often takes the longest because it combines food preparation areas, appliances and hidden grease. Empty cupboards and drawers, vacuum out crumbs, then wipe internal and external surfaces. Pay close attention to handles, hinges, kickboards, splashbacks and the top of wall units, where grease can settle unnoticed.
Clean worktops, sinks, taps and draining boards with products suited to the surface. Limescale may need a dedicated treatment, while natural stone and delicate finishes need a gentler product. Never mix cleaning chemicals, particularly bleach with acidic descalers, as this can create harmful fumes.
The oven deserves separate attention. Remove racks and trays where possible, treat baked-on residue, clean the door glass and wipe around the seals. Finish by cleaning the hob, extractor fan exterior and filter if this is part of the agreed scope. Defrost and sanitise the fridge and freezer if they are switched on and empty, then leave the fridge door slightly open if the property will stand vacant.
Bathroom: remove limescale and sanitise touchpoints
Bathrooms need both visible cleanliness and proper sanitation. Start with the toilet, basin, bath or shower, then clean taps, shower screens, tiles, grout and plugholes. Limescale is common in Suffolk properties and can make an otherwise clean bathroom appear neglected, especially around shower heads and tap bases.
Use a suitable limescale remover, allow it time to work and rinse thoroughly. Wash removable bath mats or shower curtains where required. Clean mirrors without leaving smears, wipe extractor vents and finish with high-touch points such as flush handles, light switches, door handles and radiator controls.
If mould is present, identify whether it is a surface-cleaning issue or a sign of persistent damp, poor ventilation or a leak. Surface mould may be treatable, but recurring mould should be reported and investigated rather than repeatedly covered over.
Living areas and bedrooms: clean beyond the obvious
Dust all accessible surfaces, including skirting boards, door frames, window sills, curtain poles, radiators and light fittings. Vacuum upholstery if it is included with the tenancy, and check beneath sofas, beds and other movable furniture. Cobwebs in corners and dust on blinds are easy to miss during a quick clean but stand out during a viewing.
Wipe marks from doors, handles and switches using a product that will not damage paintwork. Clean internal windows and mirrors, then vacuum carpets carefully along edges and under furniture. Hard floors should be vacuumed or swept before mopping, using only enough moisture for the floor type. Over-wetting laminate or wood can cause damage.
Carpets and floors: decide when a deeper treatment is needed
A vacuum alone will not remove old odours, embedded dirt or visible staining. Carpet cleaning may be appropriate at the end of a tenancy, especially in hallways, living rooms, pet-friendly homes or furnished lets. It can improve appearance and freshness, but it will not always remove permanent wear, bleach marks or long-standing stains.
Allow adequate drying time before viewings or a new check-in. Damp carpets can smell musty and may leave an impression that the clean was rushed. For hard floors, clean edges, corners and behind doors, then inspect the surface in natural light for streaks.
Do not overlook the areas that affect handover
The final standard is often decided by details rather than the centre of the room. Check inside every cupboard, behind appliances where accessible, around sockets, on top of doors and along the bottom of skirting boards. Empty and clean internal bins, wipe the front door, and make sure communal entrances or allocated outdoor spaces are dealt with if they form part of the tenancy.
A practical end-of-clean check should cover these five areas:
- No rubbish, leftover food or personal items remain in the property.
- Appliances, cupboards, drawers and internal windows are clean and dry.
- Bathrooms are sanitised, with no obvious limescale, hair or water marks.
- Floors are vacuumed or mopped, including edges and accessible areas beneath furniture.
- Keys, inventory items and maintenance concerns are recorded for the landlord or agent.
This inspection is also the right time to test what is reasonably accessible, such as lights, extractor fans and appliances. If something does not work, report it clearly. A cleaning team should not be expected to repair faults, but flagging them prevents confusion at handover.
When professional rental cleaning makes sense
Cleaning a rental property yourself can work well when the home is small, regularly maintained and there is enough time before the next tenant arrives. It becomes more difficult when there are multiple rooms, heavy grease, carpet stains, pet odours, a neglected oven or a tight changeover date.
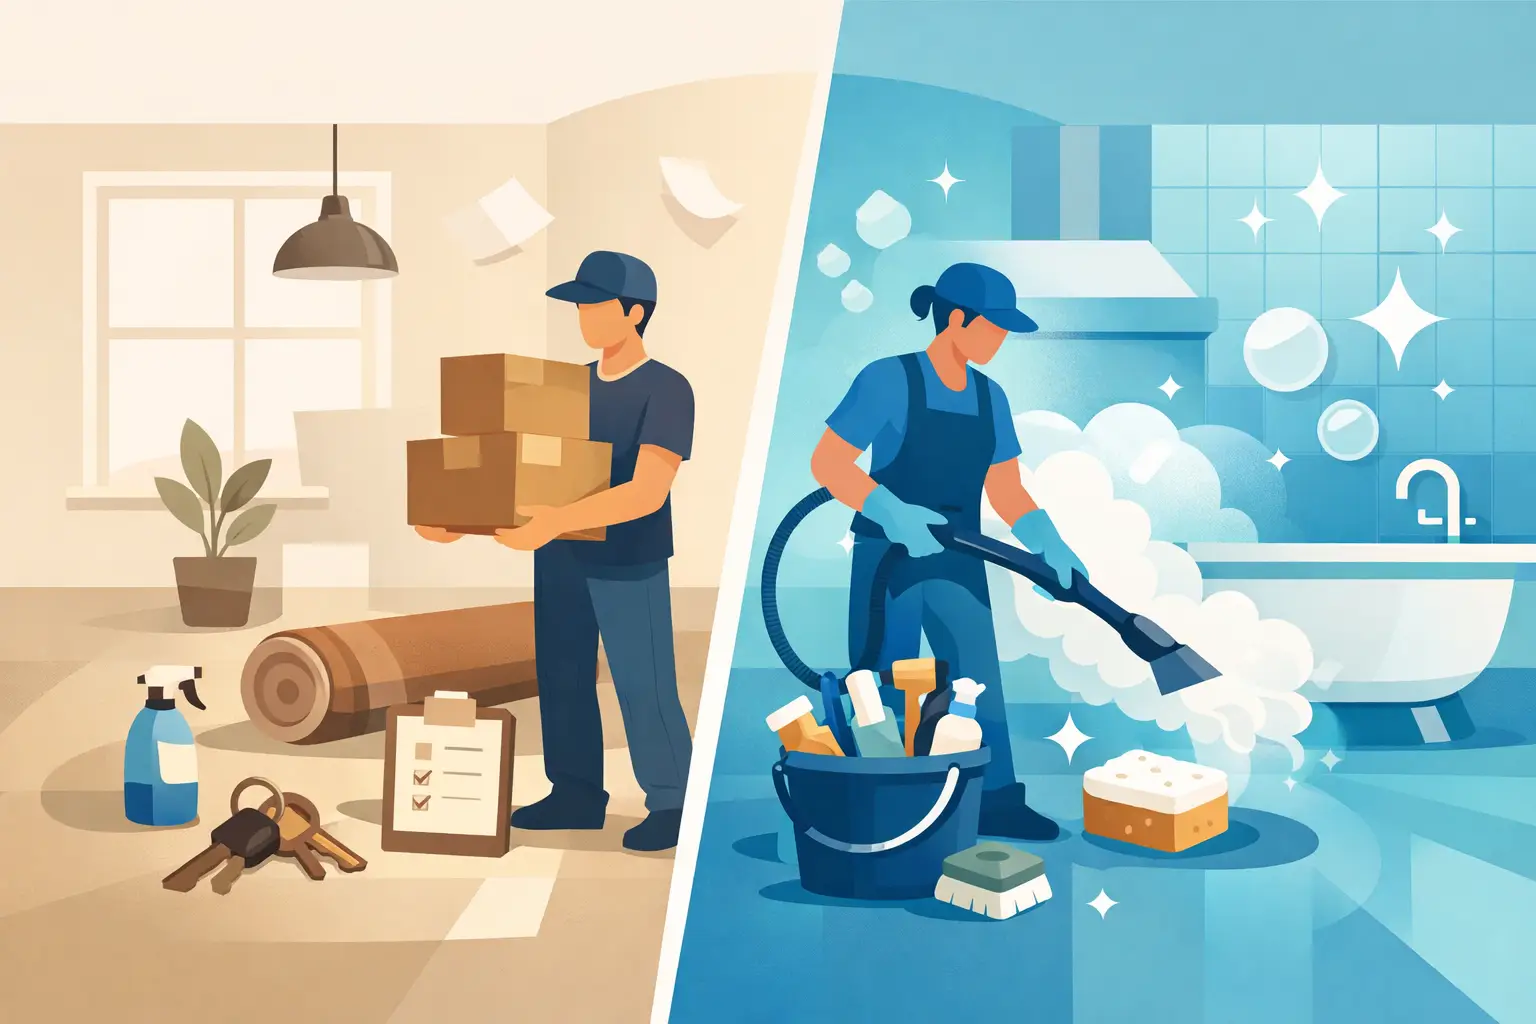
For landlords, agents and short-let managers, professional cleaning can reduce the pressure of coordinating a handover. It is particularly useful when the property needs several services at once, such as deep cleaning, carpet cleaning, oven cleaning, window cleaning and a guest-ready presentation. Bedeen Cleaning Services can provide equipment and suitable cleaning products as part of a planned rental property clean, helping to keep the process straightforward.
The scope should always be agreed in advance. An end-of-tenancy clean is different from a light pre-tenancy refresh, and neither necessarily includes removals, repairs, pest treatment or extensive mould remediation. Clear expectations protect both the person booking the service and the people moving into the property.
Build cleaning into every tenancy plan
The easiest rental property to clean is one that has been maintained throughout the tenancy. Regular domestic cleaning, prompt attention to spills and limescale, and periodic carpet or oven cleaning can prevent a last-minute handover becoming a major job. Landlords and property managers may also find it useful to schedule cleaning as soon as notice is given, rather than waiting until moving day.
A clean property tells a new tenant that the home has been cared for. Give the work enough time, inspect the small details and deal with repairs separately from cleaning. That approach creates a better start for the next tenancy and a more reliable standard for every handover.