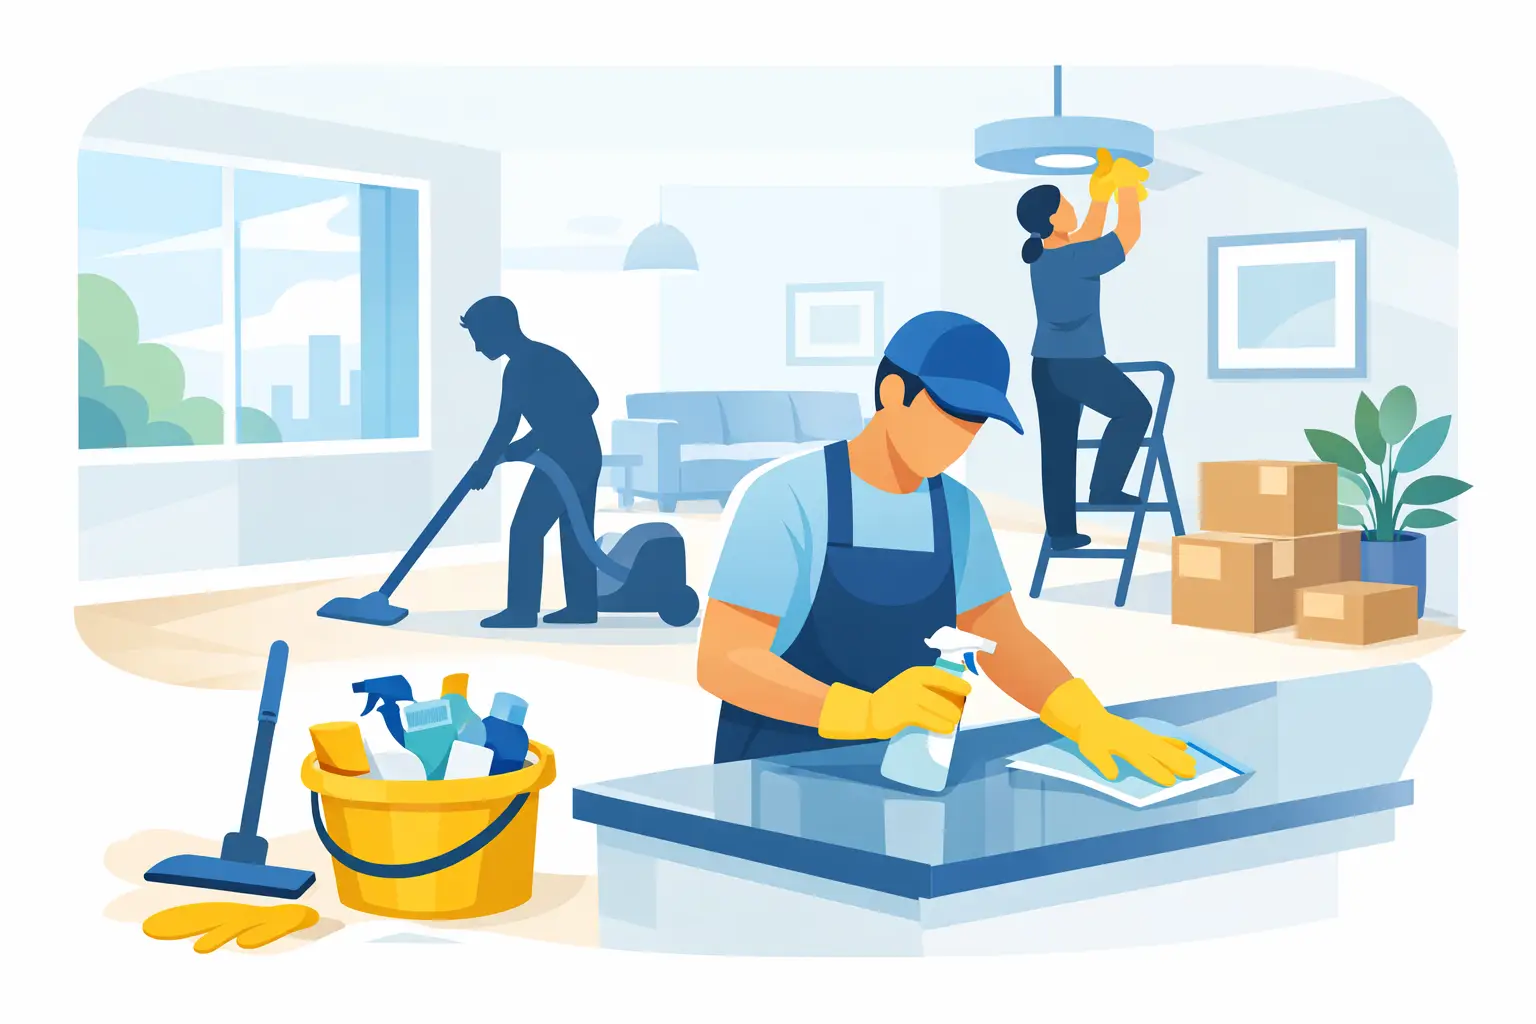
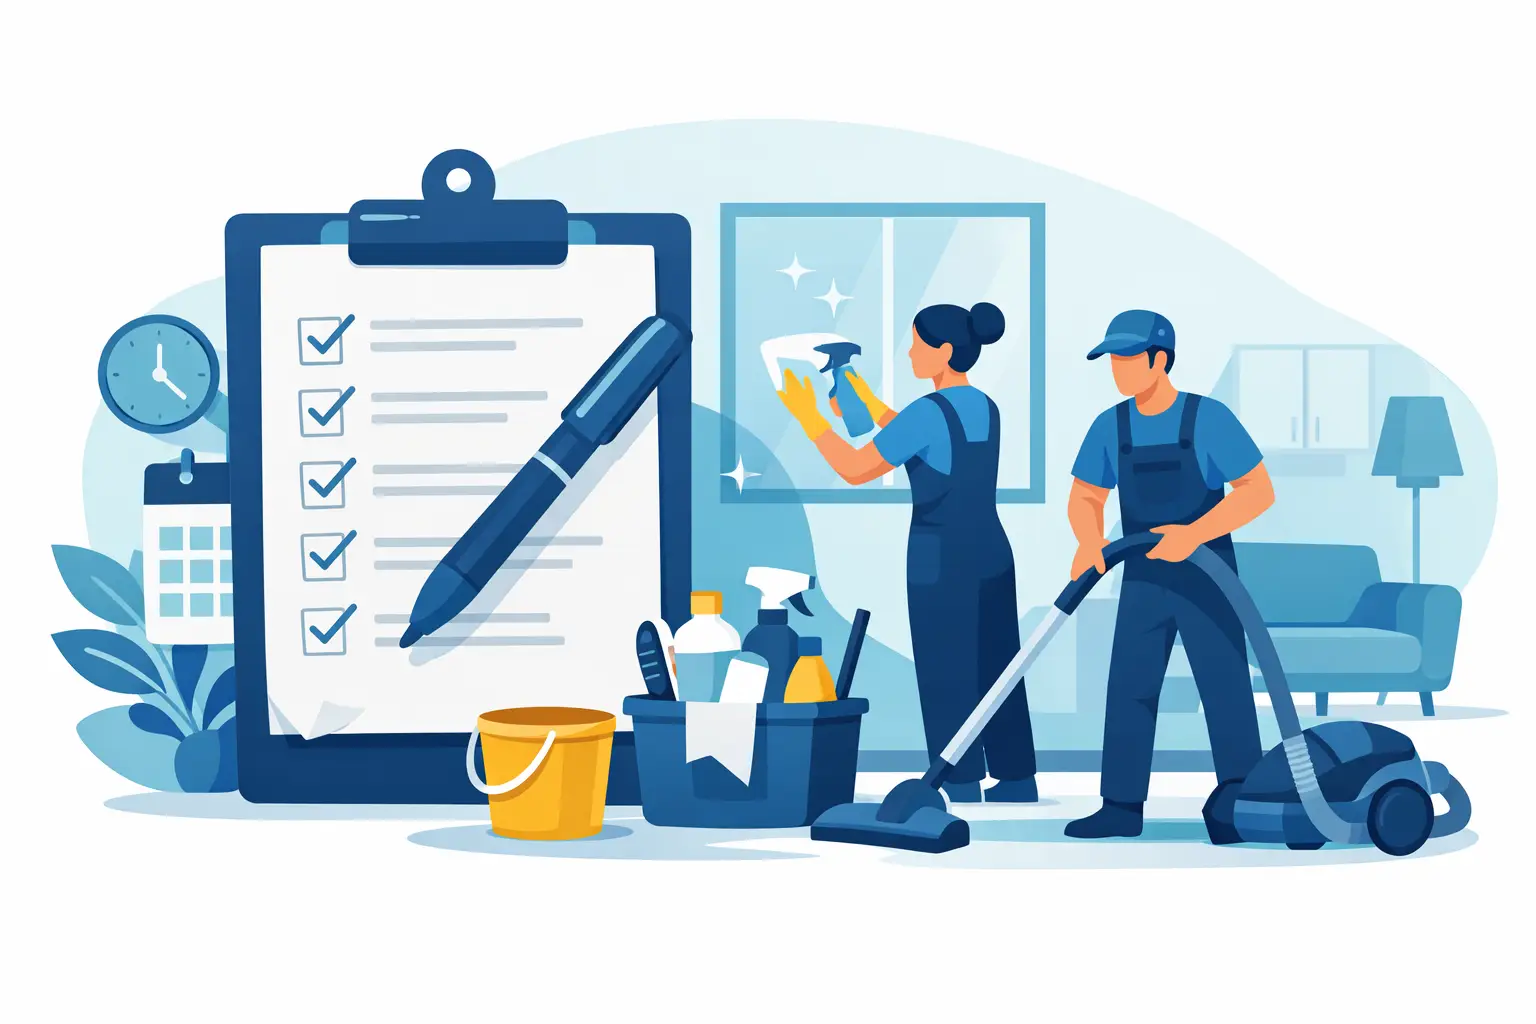
A rushed moving day has a habit of hiding the obvious. The sofa is gone, the boxes are packed, and suddenly the marks behind the bedroom door, the grease in the oven and the dust on the skirting boards start to matter. A solid end of tenancy cleaning checklist helps you stay on top of the job, reduce stress before inspection and leave the property in the best possible condition.
For tenants, that usually means protecting as much of the deposit as possible. For landlords and letting agents, it means getting the property ready for the next occupant without delay. The standard expected can vary slightly from one home to another, but the principle is simple: the property should be clean, presentable and consistent from room to room, not just tidy at first glance.
Why an end of tenancy cleaning checklist matters
End of tenancy cleaning is different from a normal weekly clean. You are not cleaning around everyday life. You are cleaning an emptied property where neglected areas are fully visible, and that changes the level of detail required.
This is where people often come unstuck. They clean the obvious surfaces but miss the places an inventory clerk, landlord or agent will notice straight away - inside cupboards, extractor fans, the top of door frames, limescale around taps or crumbs in cutlery drawers. A checklist keeps the work methodical. It also helps if more than one person is involved, because everyone knows what has and has not been completed.
It is also worth remembering that cleaning expectations should be reasonable. Fair wear and tear is not the same as dirt. Worn carpet, faded paint or old sealant will not be fixed by scrubbing harder. Knowing the difference can save time and frustration.
End of tenancy cleaning checklist by area
The most reliable approach is to work from top to bottom in each room, then finish with floors. That prevents dust and debris from falling onto areas you have already cleaned.
Kitchen
The kitchen nearly always takes the longest. Grease, food residue and hidden crumbs build up gradually, so a quick wipe round is rarely enough.
Start with cupboards and drawers, emptying them fully and wiping inside and out. Pay attention to handles, edges and the tops of units where grease and dust can settle. Work through the worktops, splashbacks and sink, removing food marks, limescale and any staining around the taps.
The oven deserves extra time. Clean the interior, shelves, trays and glass door thoroughly. If there is a hob, degrease it properly and clean around the rings or burners. Extractor fans and cooker hoods are another area people miss, especially the filter. The fridge and freezer should be emptied, switched off if required, and cleaned inside with the doors left slightly open if the property will be vacant. Finish appliances such as the microwave, washing machine and dishwasher by cleaning seals, doors, detergent drawers and outer surfaces.
Bathroom
Bathrooms are usually judged quickly because the signs of poor cleaning are easy to spot. Limescale, soap residue and mould are the main issues.
Clean and disinfect the toilet, basin, bath and shower, including taps, plugholes and overflow covers. Descale shower screens, tiles and shower heads where needed. Mirrors should be left smear-free, and any shelving, cabinets or vanity units should be wiped inside and out. Do not forget the grout lines, skirting boards and the floor edges around the toilet, where dust and hair often gather.
If there is extractor ventilation, wipe it down. If mould is present in sealant, results can depend on how old the staining is. Sometimes it will clean off; sometimes replacement is the only real fix.
Bedrooms and living areas
These rooms may look simpler, but they still need careful attention once furniture has been removed.
Dust all surfaces, including shelves, window sills, skirting boards, door frames, radiators and light fittings where safe to reach. Wipe wardrobes and cupboards inside and out. Marks on walls can sometimes be removed with gentle cleaning, but it depends on the paint finish. Over-scrubbing can make the area worse, so caution matters.
Windows on the inside should be cleaned, along with frames and ledges. Curtains should be dust-free and presentable, while blinds should be wiped slat by slat if necessary. Carpets should be vacuumed thoroughly, including edges and corners. Hard floors should be swept and mopped with the right product for the surface.
Hallways, stairs and entrances
These areas take a lot of foot traffic and can make a strong first impression during inspection.
Wipe down banisters, handrails, switches and internal doors. Remove cobwebs from corners and clean skirting boards throughout. Vacuum stairs carefully, especially along the edges, and check the entrance area for scuffs, dust and trapped dirt. If the property has a porch or internal entryway, include it in the same standard as the rest of the home rather than treating it as an afterthought.
The details people often miss
A checklist only works if it covers the small things as well as the major tasks. Missed detail is one of the most common reasons a property still feels unready after hours of cleaning.
The usual problem spots are light switches, plug sockets, behind radiators, the tops of doors, curtain rails, extractor covers, bin areas, window tracks and the inside of the front door. In the kitchen, it is often the rubber seal around the fridge, the cutlery tray and the space behind freestanding appliances. In the bathroom, it is usually the base of the toilet, tile edges and taps that still show water marks after everything else looks clean.
If the property has carpets with visible marks, standard vacuuming may not be enough. Some tenancy agreements or inventory conditions expect professional carpet cleaning, particularly where pets or stains are involved. That is worth checking before the final handover.
What to prepare before you start
An empty property makes cleaning easier, but only if you have the right supplies ready. At minimum, you will need cloths, sponges, a mop, a vacuum, bin bags, a descaler, degreaser, disinfectant and a suitable glass cleaner. Using the wrong product can damage surfaces, especially on stainless steel, stone worktops, wooden flooring or speciality bathroom finishes.
Time is another factor people underestimate. A small one-bedroom flat may be manageable in a day if it has been well kept. A larger house, or one with built-up grease and limescale, can take much longer. If carpets, upholstery, ovens or windows need specialist attention, the job quickly becomes more demanding.
That is often the point where professional help makes sense. A company such as Bedeen Cleaning Services can handle the full clean with equipment and products supplied, which is particularly useful when move-out dates are tight and the standard needs to be consistent across the whole property.
Should you do it yourself or book a professional clean?
That depends on three things: time, condition and expectation.
If the property is already in good order, you have a full day or two available, and you are comfortable tackling kitchens and bathrooms properly, a DIY clean may be enough. If the home has been lived in for several years, has heavy carpet marking, grease build-up or limited time before key return, the job becomes harder to complete well without professional support.
There is also the question of proof. Some landlords and agents are happy with a well-cleaned property regardless of who did it. Others may expect receipts for specialist services such as carpet cleaning. It is better to check this in advance than make assumptions at the end.
Final checks before the inspection
Once cleaning is finished, walk through the property slowly with fresh eyes. Open cupboards, look behind doors and stand in the bathroom and kitchen as if you were inspecting them for the first time. Daylight helps, because overhead lighting can hide smears and dust.
Make sure all rubbish has been removed, personal items are gone and the property smells fresh rather than heavily perfumed. Strong fragrance can suggest you are covering something up. Clean, neutral and well aired is the safer option.
If you have followed a proper end of tenancy cleaning checklist, the aim is not perfection in the unrealistic sense. It is a property that feels properly cared for, with no obvious dirt, no neglected corners and no last-minute surprises. That extra bit of care can make the handover smoother, and when moving day is already busy enough, that matters more than most people realise.